Creating a custom 404 error page in Ghost
The Ghost blogging platform allows you to create a custom error page when someone attempts to navigate to a page that does not exist.


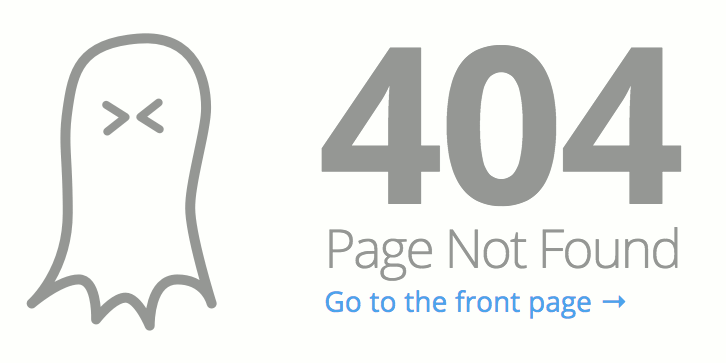
The Ghost blogging platform allows you to create a custom error page when someone attempts to navigate to a page that does not exist. By default, this page shows an image of a little ghost squeezing his eyes in disbelief:
Replacing this default page by a custom error page is quite easy and this post describes how that's done.
Whenever a non-existent url is requested, Ghost checks the theme's root folder for a file called error.hbs (this is the folder where the index.hbs-file also resides). If that exists, it will be displayed, otherwise the default page is returned.
So, in order to create a new error page, we only need to make sure the error.hbs file exists and contains the content we want to display. Create this file in case this file does not exist yet. In fact, if you leave it like this, you would display a blank page in case of errors. Not so user friendly, so let's add some more content:
Add the following as the first line of the file. This will add the default page layout to the error page:
{{!< default}}
Now we can add some more content like an image and a link for the user to go back to the home page; like this:
<section class="error-message">
	<div>
		<img src="{{asset 'images/404.png'}}">
	</div>
	<a class="error-link" href="{{@blog.url}}">Go to the front page →</a>
</section>
Note that line 3 directly references an image in the assets/images folder.
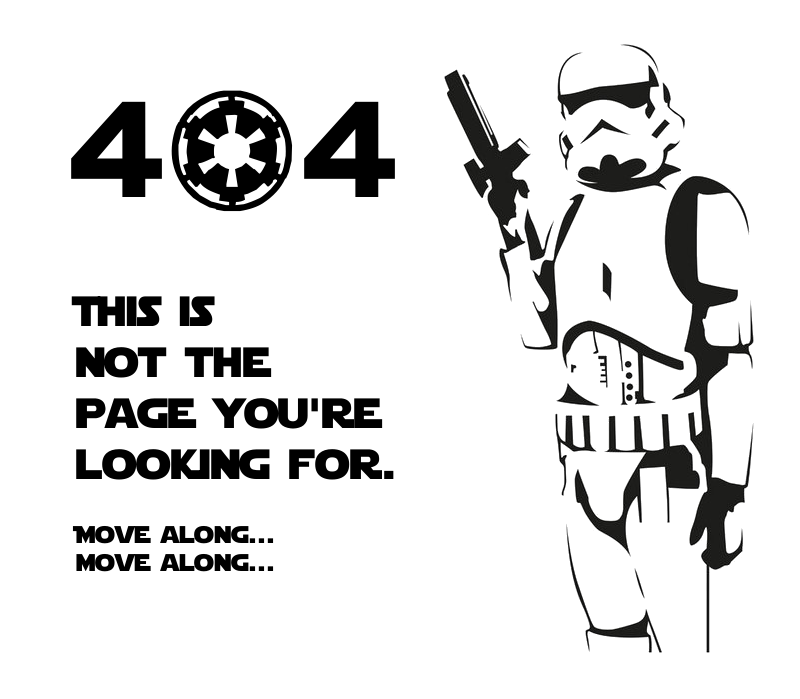
In fact, you can be as creative as you want. I decided to add the site navigation bar and make a Star Wars themed error page:
Save the file and restart Ghost, or upload your new theme. After that, the new error page should be displayed every time whenever a url is requested that does not exist.